When you click on links to various merchants on this site and make a purchase, this can result in this site earning a commission. Affiliate programs and affiliations include, but are not limited to, the eBay Partner Network.
1) Remove deflector from under the back fender and install an LED brake light strip. Since I imported a USA bike, this is something I have to do to pass Federal inspection
2) Explore some luggage options, swingarm bag for sure, quick detach sissy bar with luggage rack (not sure between chrome and black)
3) Decide between quick detach saddle bags or something for the luggage rack for my longer trips
4) Stage 1 is done with V&H slip ons, Screamin Eagle air cleaner and Screamin Eagle tuner. This might change to Big Radius pipes and different tuner, just not sure which one yet
5) Once I decide how comfortable, or not the bike is, I will look seat options, replacement bars, etc.
It was down to -18 C up here today, so any progress in my unheated garage will be slow :-(
I got the FP3 tuner and the big radius pipes and boy does it sound good!!
1) Remove deflector from under the back fender and install an LED brake light strip. Since I imported a USA bike, this is something I have to do to pass Federal inspection
2) Explore some luggage options, swingarm bag for sure, quick detach sissy bar with luggage rack (not sure between chrome and black)
3) Decide between quick detach saddle bags or something for the luggage rack for my longer trips
4) Stage 1 is done with V&H slip ons, Screamin Eagle air cleaner and Screamin Eagle tuner. This might change to Big Radius pipes and different tuner, just not sure which one yet
5) Once I decide how comfortable, or not the bike is, I will look seat options, replacement bars, etc.
It was down to -18 C up here today, so any progress in my unheated garage will be slow :-(
Just to reconfirm what many others have already stated, installing apes on your BO is absolutely transformational. People are split on the aesthetics of apes, but if you're partial to em, I'd suggest doing that mod before changing seats.
I've installed apes and a 30" sissy bar. For occasional overnight (or longer) trips, a roll top dry-bag is just what the doctor ordered. A 65 liter (17 gal) dry-bag sits nicely on the stock pillion with the roll clipped around the top section of the sissy bar. A single bungee around the base of the bag at the base of the bar is all you need to secure the bag in place. A 65 liter bag holds a lot of stuff, removes for carry in a split second, and when packed makes a convenient backrest. The bag is a cheap option and, with the bar, actually complements the ape style BO better than "most" other storage options I've seen. A black rubberized bag with a black bungee looks good installed.
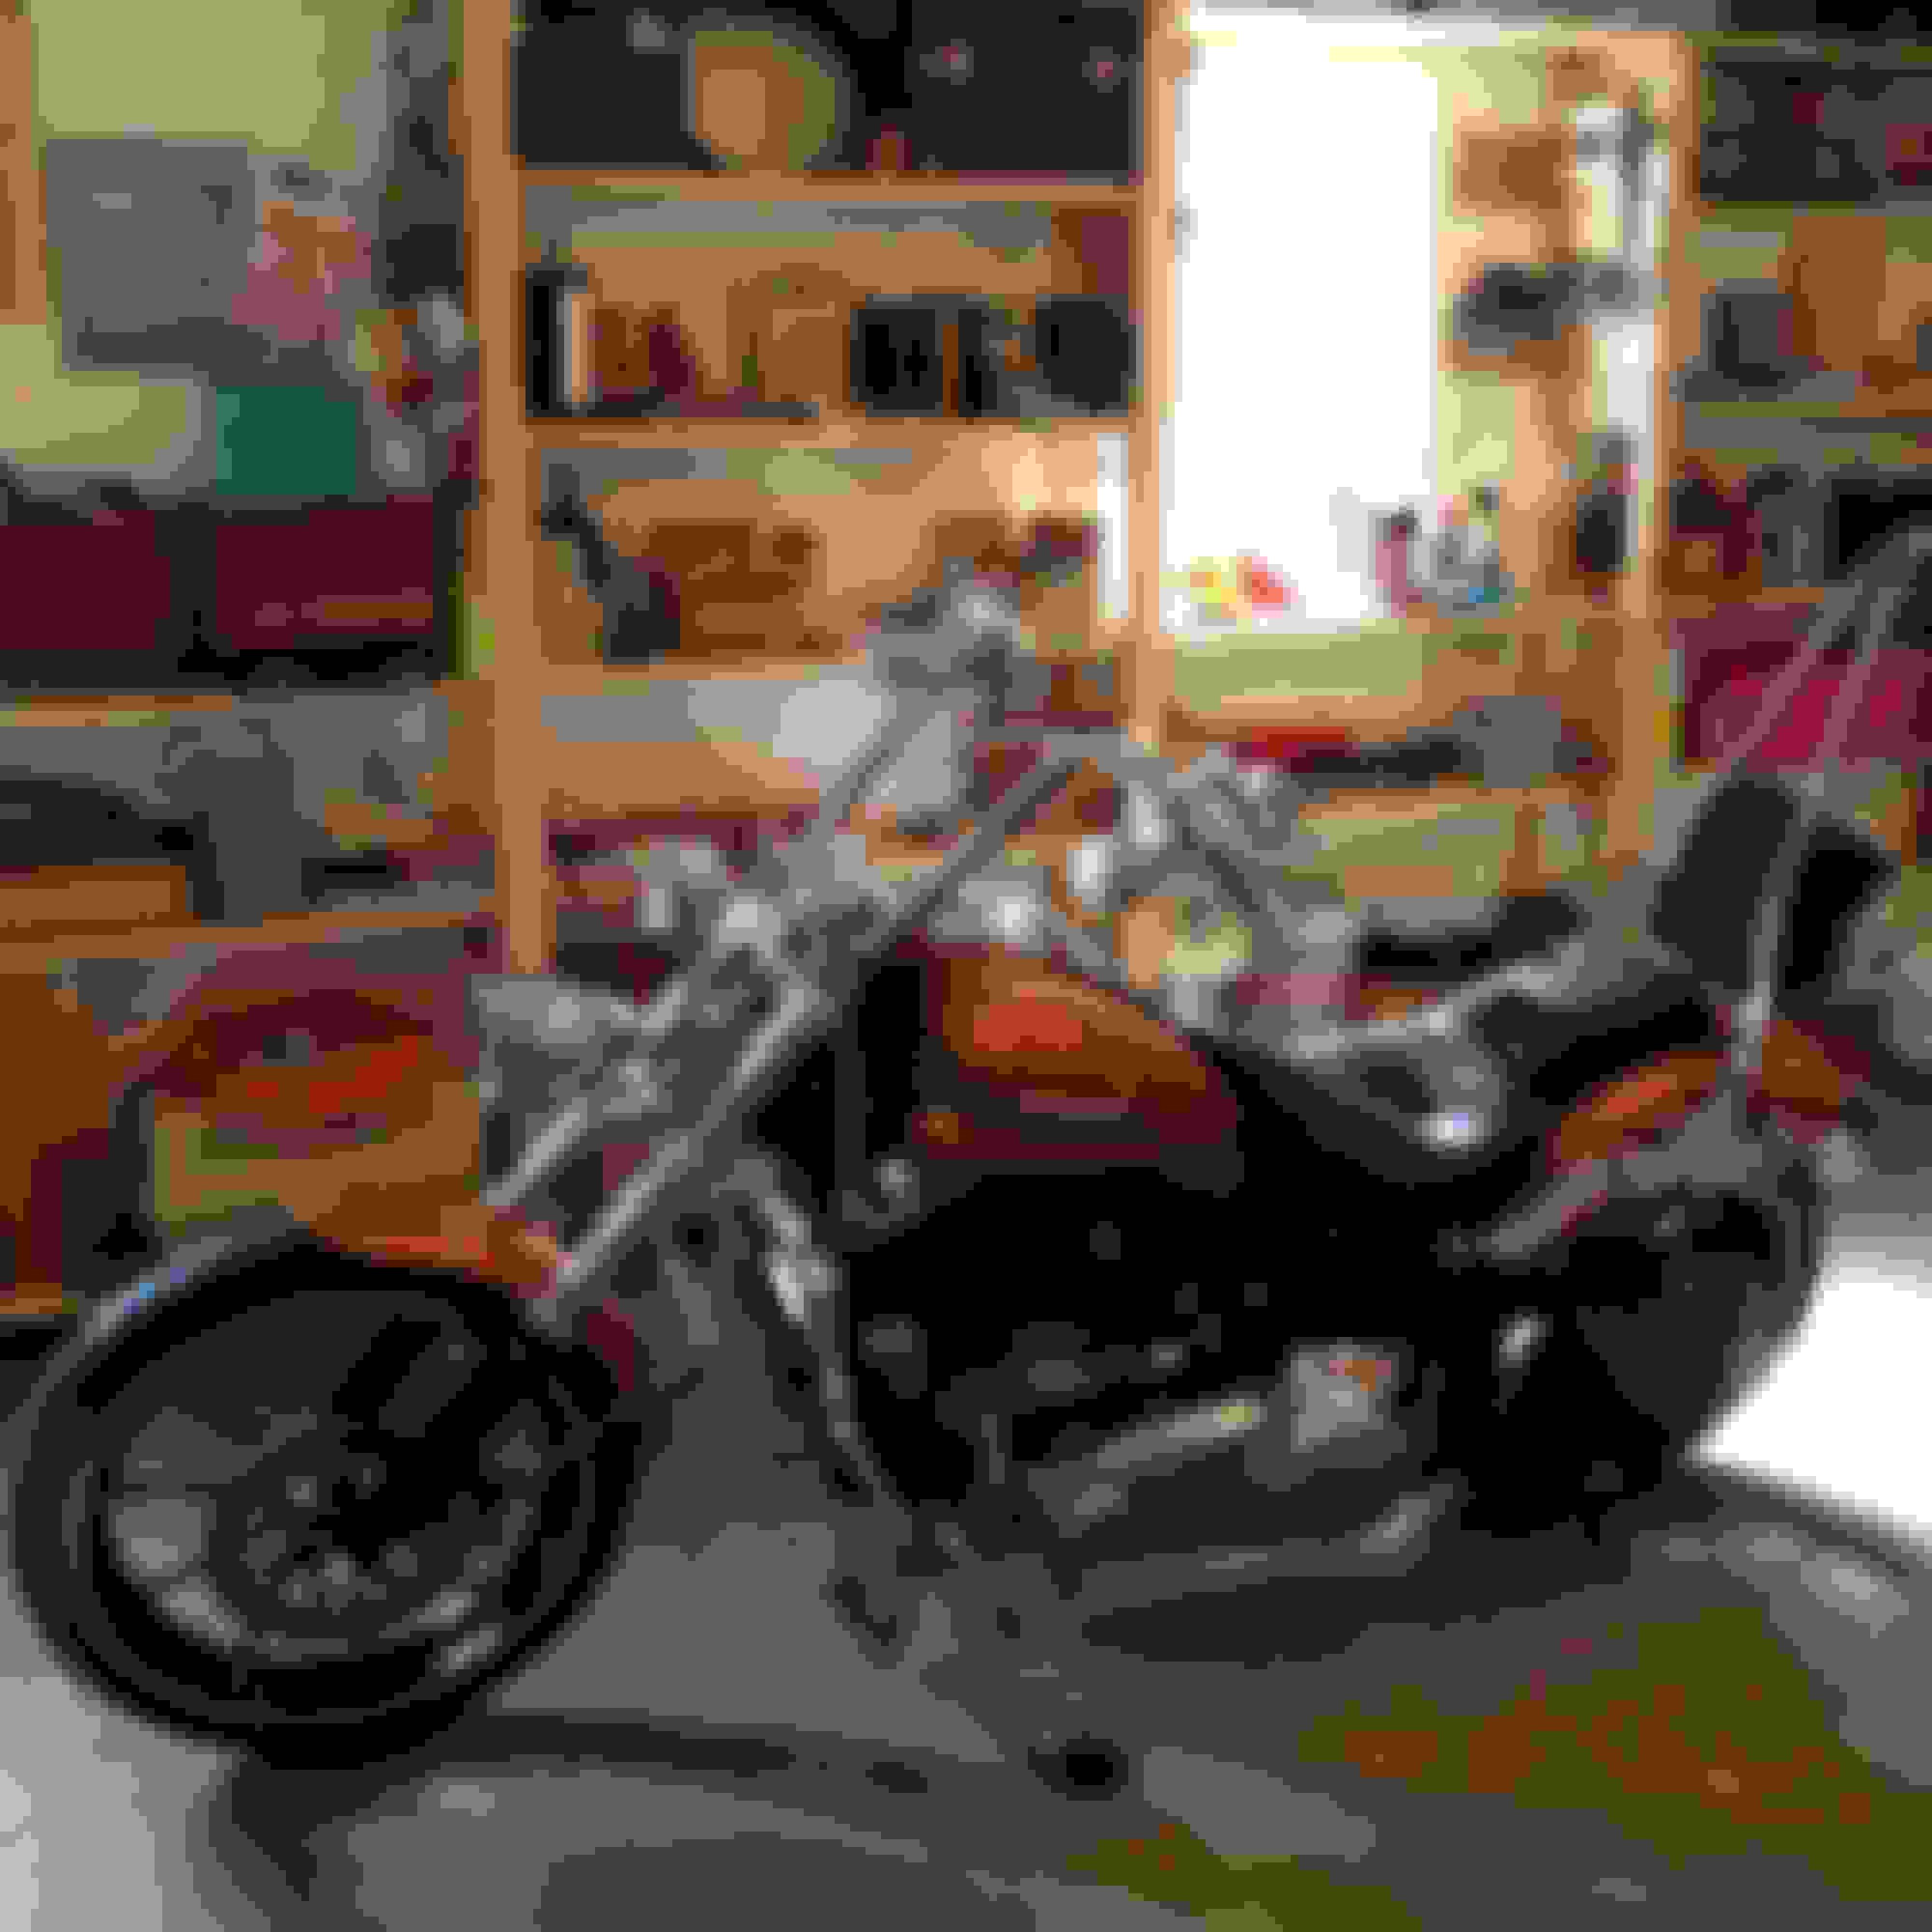
Its freezing here too and unfortunately, I don't have a pic with the dry-bag installed but otherwise, here is my current setup:
As you can see, I have a swing arm bag and a small sissy bar bag as well.
If you're into the look, this is one comfy and seriously easy handling Breakout bro. Just sayin .
Just to reconfirm what many others have already stated, installing apes on your BO is absolutely transformational. People are split on the aesthetics of apes, but if you're partial to em, I'd suggest doing that mod before changing seats.
I've installed apes and a 30" sissy bar. For occasional overnight (or longer) trips, a roll top dry-bag is just what the doctor ordered. A 65 liter (17 gal) dry-bag sits nicely on the stock pillion with the roll clipped around the top section of the sissy bar. A single bungee around the base of the bag at the base of the bar is all you need to secure the bag in place. A 65 liter bag holds a lot of stuff, removes for carry in a split second, and when packed makes a convenient backrest. The bag is a cheap option and, with the bar, actually complements the ape style BO better than "most" other storage options I've seen. A black rubberized bag with a black bungee looks good installed.
Its freezing here too and unfortunately, I don't have a pic with the dry-bag installed but otherwise, here is my current setup:
As you can see, I have a swing arm bag and a small sissy bar bag as well.
If you're into the look, this is one comfy and seriously easy handling Breakout bro. Just sayin .
.
Are those the 12" Harley bars that come with the shorter risers and new top clamp with gauge cup?
Are those the 12" Harley bars that come with the shorter risers and new top clamp with gauge cup?
The bars were installed by the Dealer. They were quoted as being 10" but measure at 14". The top clamp with gauges are OEM mounted by me on short aftermarket risers on top of 10 degree angled bushings to move the speedo housing forward for clearance for the tank lift.
I did all this, in part, because I didn't like the bunny eared look of the Dealer installed bars. The short risers and tank lift buried em somewhat. Here's what they looked like from the Dealer:
Here's a latest photo showing the results of a 2" fork extension and fork brace. This added just over an inch to the pre 2018 BO wheelbase. I've always appreciated the BO (pre 2018) for having the longest wheel base in the HD fleet. When they shortened the BO wheel base by 3" in 2018, I felt they ruined the model entirely. The 2018 BO is just a Sportster with a big engine as far as I'm concerned and I'll bet a dollar the model dies out within a couple of years. It has no reason now IMHO.
https://www.harley-davidson.com/stor...SABEgLhmvD_BwE
I just bought this setup from Boardtracker, I an going to lay mine back same as your's, not a fan of the bunny ears either. I am also considering fork extensions and a Superbrace, You are spot on about the new Breakouts, two years max.
...When they shortened the BO wheel base by 3" in 2018, I felt they ruined the model entirely. The 2018 BO is just a Sportster with a big engine as far as I'm concerned and I'll bet a dollar the model dies out within a couple of years. It has no reason now IMHO.
https://www.harley-davidson.com/stor...SABEgLhmvD_BwE
I just bought this setup from Boardtracker, I an going to lay mine back same as your's, not a fan of the bunny ears either. I am also considering fork extensions and a Superbrace, You are spot on about the new Breakouts, two years max.
That bar set is probably what the Dealer installed on my ride originally. It certainly looks like it.
If you are considering the extension and brace, the extension would be easiest to install while the bars are off. These:
,,,,,,,,,,,,,,, "do" fit the 2014 BO, even though the Dennis Kirk site indicates they don't. These are the ones I've installed. Actually, when considering mods for a BO, it is not at all uncommon to run across erroneous fitment advice on product Dealer sites. Frequently sites indicate parts won't fit the BO when they actually do. There are loads of mods you can do with parts that "don't fit" , you'll need to find and follow information about what works here on HDF or by other means. Its a journey .
I don't want to seem patronizing but have a Manual on hand. It darn near pays for itself the first time you touch your BO with a wrench. All your necessary disassembly / assembly procedures and torque specs are in it.
"Rare Pointer" (off topic ) : Pick up a cheap "short" 5/8 socket and, on your bench grinder, put a significant, 3/16 to 1/4 bevel on its rear, (where the extension connects), circumferential edge. This will be your go to socket when removing / installing your transmission oil drain plug,,, or all 3 for that matter. Conventional short sockets can be interfered with by the left rear shock body or literally get jammed under it risking a misalignment (cross-threading) of the plug. There are other solutions but unbranded sockets are cheap and putting a bevel on its backside with a bench grinder is a 2 minute job, FWIW.
To do the bevel I just inserted an extension into the socket opposite to the customary way, (through the 5/8 opening) and used it as a handle to do the beveling on the grinder. "Easy money" !
Half the parts on my bike "don't fit" the Breakout. I have found a ton of great info here, you were the one that got me thinking about the fork spacers when you first installed your's. I tried to fit the Superbrace to my 2017, but they changed something, it hit the fender before going down far enough to clamp on the lowers. They were supposed to contact me when they fixed it, but maybe they did not bother. Thanks for all the info.
7 Surprising Harley-Davidson Products that Are Not Motorcycles
Slideshow: The bar-and-shield logo shows up on far more than motorcycles, some of the company's most unexpected products have nothing to do with riding.
Slideshow: From the troubled AMF years to modern misfires, these bikes earned reputations for reliability issues, questionable engineering, or disappointing performance.
Crazy Bunderbike Build Looks Amazing, But Is It Impossible to Ride?
Slideshow: The Swiss custom shop has taken a Harley Softail and stretched it into something so long and low that it looks closer to a rolling sculpture than a conventional motorcycle.
Engraved Rebellion: Inside Bundnerbike's Glam Rock II
Slideshow: A standard cruiser becomes an intricate metal canvas in the hands of a Swiss custom house known for pushing Harley-Davidson platforms far beyond their factory brief.
Slideshow: Harley-Davidson's challenges aren't abstract; they show up in dropping shipments, shrinking dealer traffic, and strategic decisions that aren't yet translating into growth.


 Feb 13, 2015, 01:41 PM


 .
.


 .
.