When you click on links to various merchants on this site and make a purchase, this can result in this site earning a commission. Affiliate programs and affiliations include, but are not limited to, the eBay Partner Network.
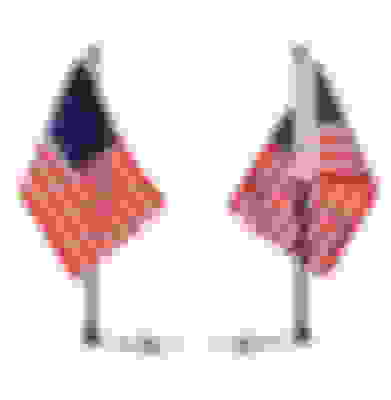
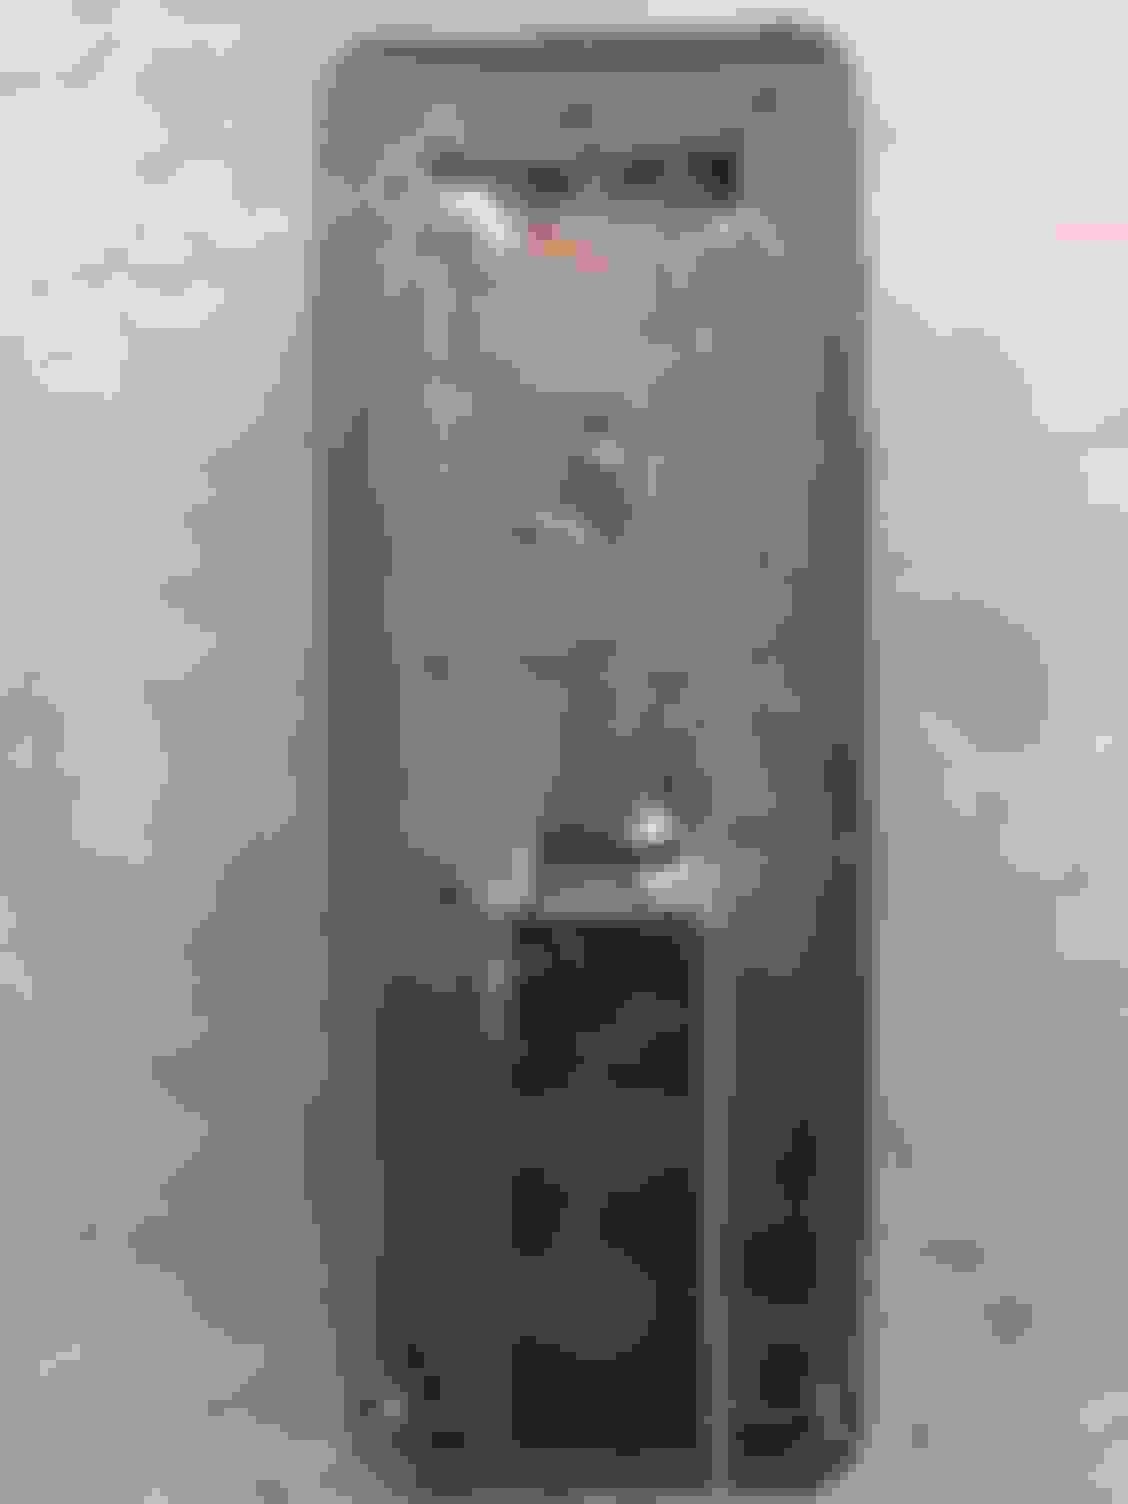
This will work on any bike that has the H-D Docking hardware that is attached to the bike, but not being used. Thes are the Flag Staffs I use. Rumbling Pride CCM 90 Switch Blade Polished Bracket Flag Mounting System. J&P Cycles Part Number: 800-758. Manufacturer Part Number: CPFK00-90. $54.99 set. They are the ones intended to mount to the LP, but that was not practicle on my bike since they needed to be easily removed so I can mount the Tour-Pak when I need to. The 6" X9" Flags are sold separately. Pro Pad American Flag. J&P Cycles Part Number: 150-155. Manufacturer Part Number: FLG-USA. $11.99 ea.
This hanger, for 1/2" dia conduit, can be obtained from Lowes;Sigma Electric ProConnex 1/2-in Conduit Hangers. $0.58. For a few extra pennys, I purchased wing nuts to replace the standard nut so I don't need a wrench to put on or remove. I painted the hanger and nut with quality automotive Black Gloss Paint. The hole in the hanger is the exact size to mount the Flag Staffs.
The hangers are mounted with the hole up and angled toward the rear slightly, clamping around the rear post of the docking hardware. I did have to grind the wing nuts a little to allow them to clear when tightening or loosing (before painting). When I want to put the tour pack back on, these come off very easily and quickly. The mounting clamp are not very noticable at all, but the flag staffs and flags look like they were intended to be there. I have no problems with them loosening or rotating, and I ride with the flags flying all the time.
Just remeber in accord with American Flag protocol, if you fly two flags like I do, the American Flag goes on the Parade Right (Throttle) side and whatever other flag you fly, goes on the Left (Clutch) side.
"American flag goes parade right"
Four years in military school and I didn't know that - or I forgot it along the way in the last forty years. Of course I was never in the color guard.
This will work on any bike that has the H-D Docking hardware that is attached to the bike, but not being used. Thes are the Flag Staffs I use. Rumbling Pride CCM 90 Switch Blade Polished Bracket Flag Mounting System. J&P Cycles Part Number: 800-758. Manufacturer Part Number: CPFK00-90. $54.99 set. They are the ones intended to mount to the LP, but that was not practicle on my bike since they needed to be easily removed so I can mount the Tour-Pak when I need to. The 6" X9" Flags are sold separately. Pro Pad American Flag. J&P Cycles Part Number: 150-155. Manufacturer Part Number: FLG-USA. $11.99 ea.
This hanger, for 1/2" dia conduit, can be obtained from Lowes;Sigma Electric ProConnex 1/2-in Conduit Hangers. $0.58. For a few extra pennys, I purchased wing nuts to replace the standard nut so I don't need a wrench to put on or remove. I painted the hanger and nut with quality automotive Black Gloss Paint. The hole in the hanger is the exact size to mount the Flag Staffs.
The hangers are mounted with the hole up and angled toward the rear slightly, clamping around the rear post of the docking hardware. I did have to grind the wing nuts a little to allow them to clear when tightening or loosing (before painting). When I want to put the tour pack back on, these come off very easily and quickly. The mounting clamp are not very noticable at all, but the flag staffs and flags look like they were intended to be there. I have no problems with them loosening or rotating, and I ride with the flags flying all the time.
Just remeber in accord with American Flag protocol, if you fly two flags like I do, the American Flag goes on the Parade Right (Throttle) side and whatever other flag you fly, goes on the Left (Clutch) side.
Ride with Pride
can you give some info in your exhaust please..???
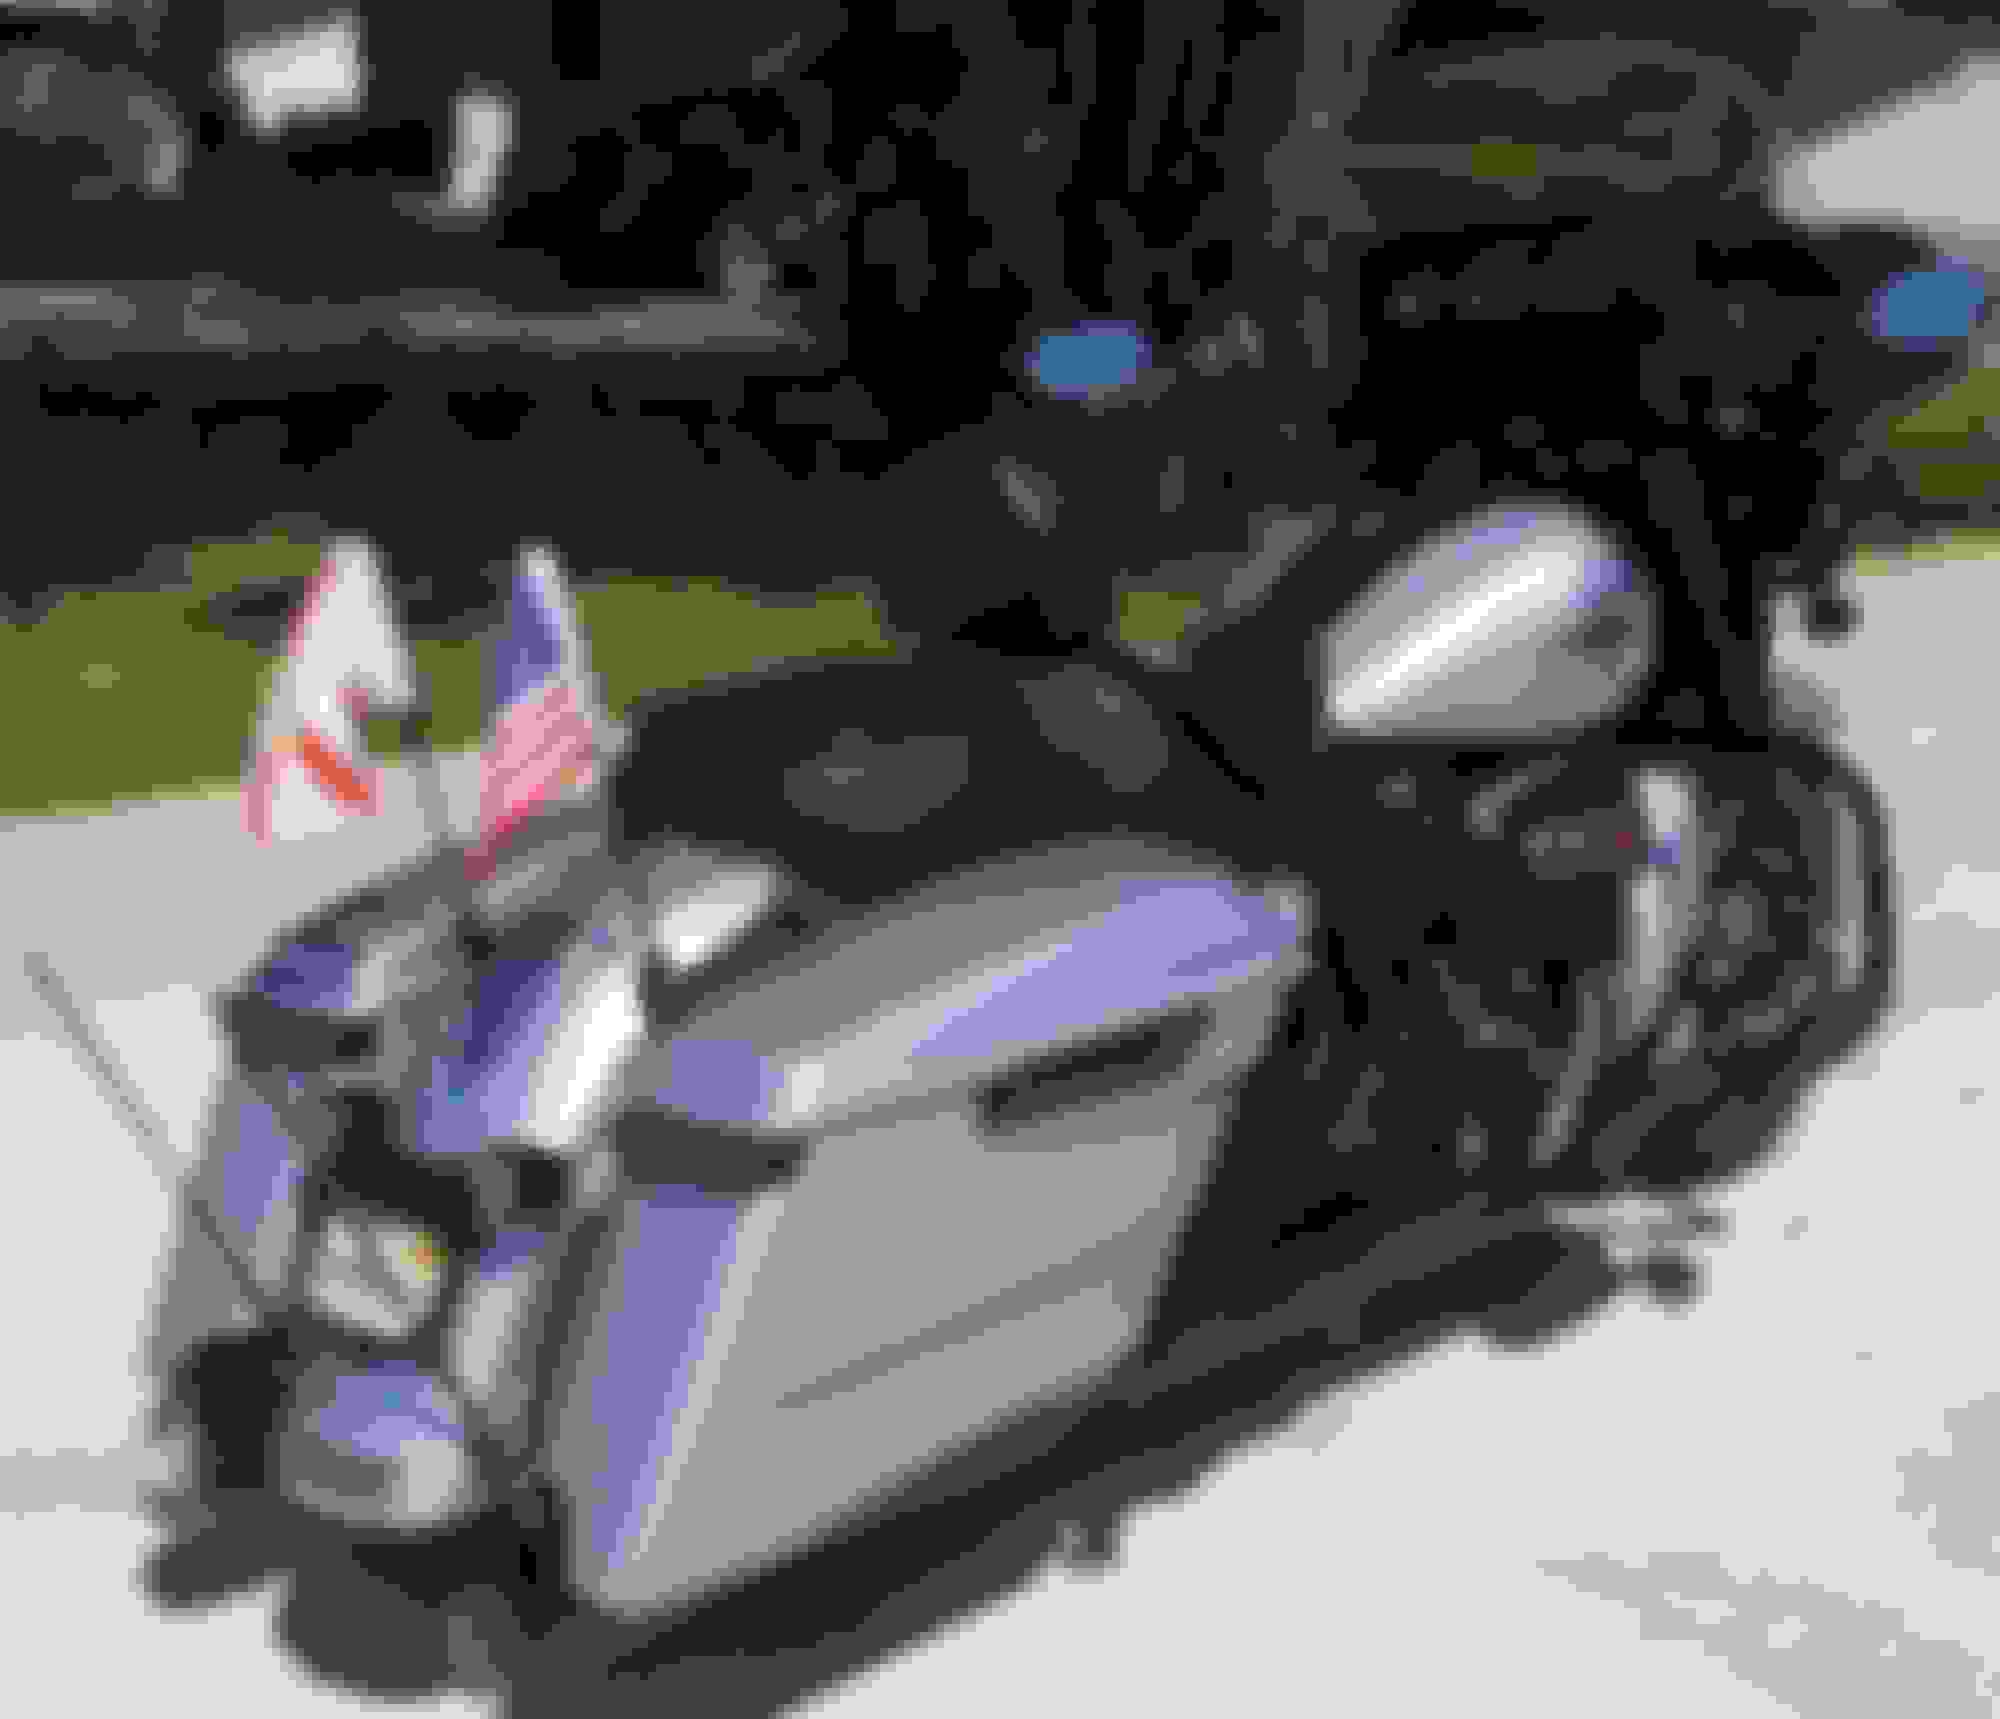
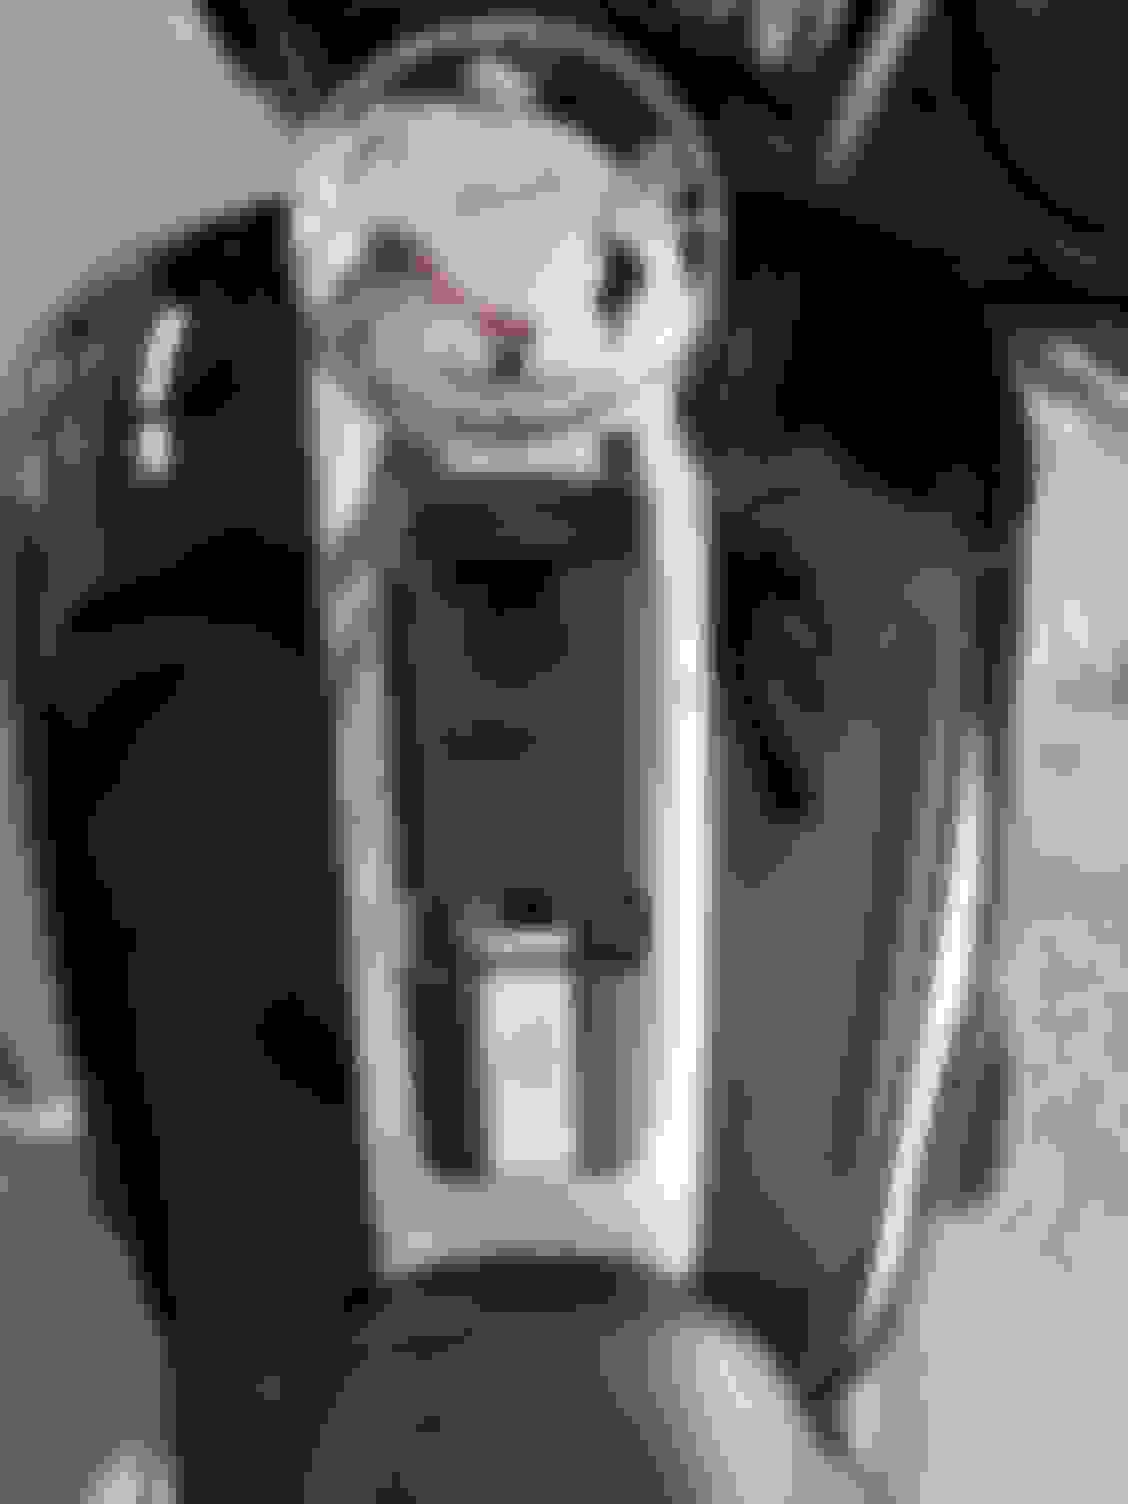
I've been wanting a place to put my phone, but didn't want a bulky handlebar mount. I just don't think they look good. And the only time I ever want/need to look at my phone is when my music screws up or Bluetooth doesn't want to connect after I've already started riding.
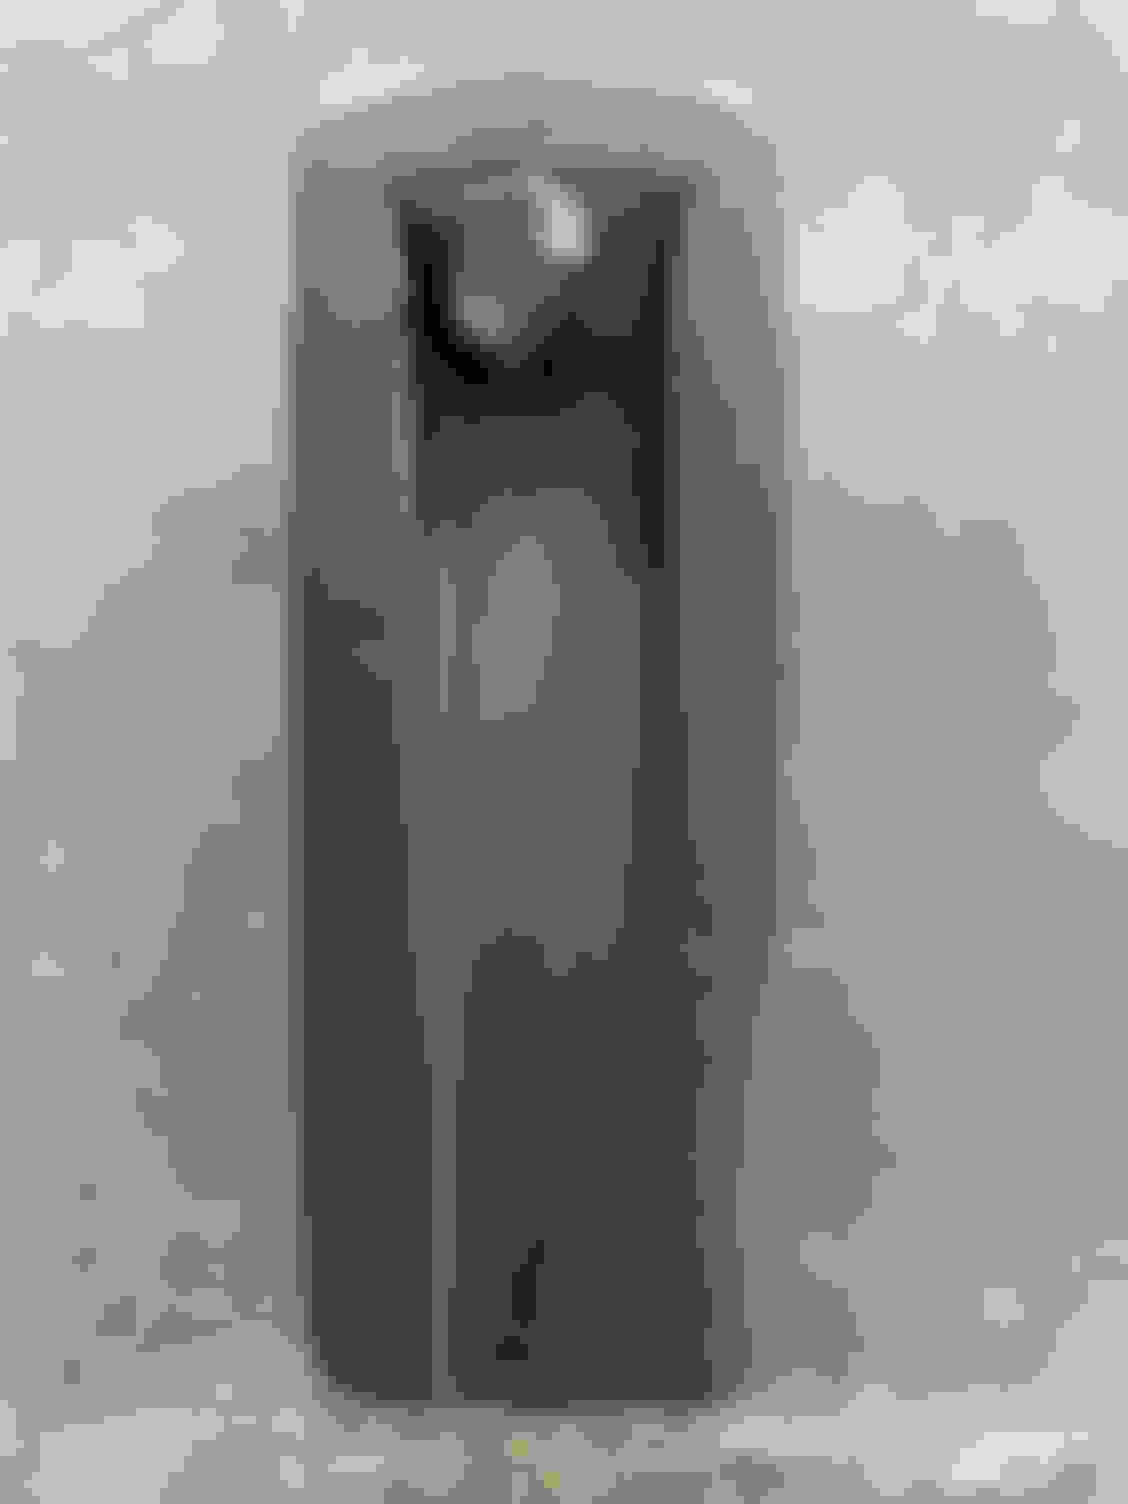
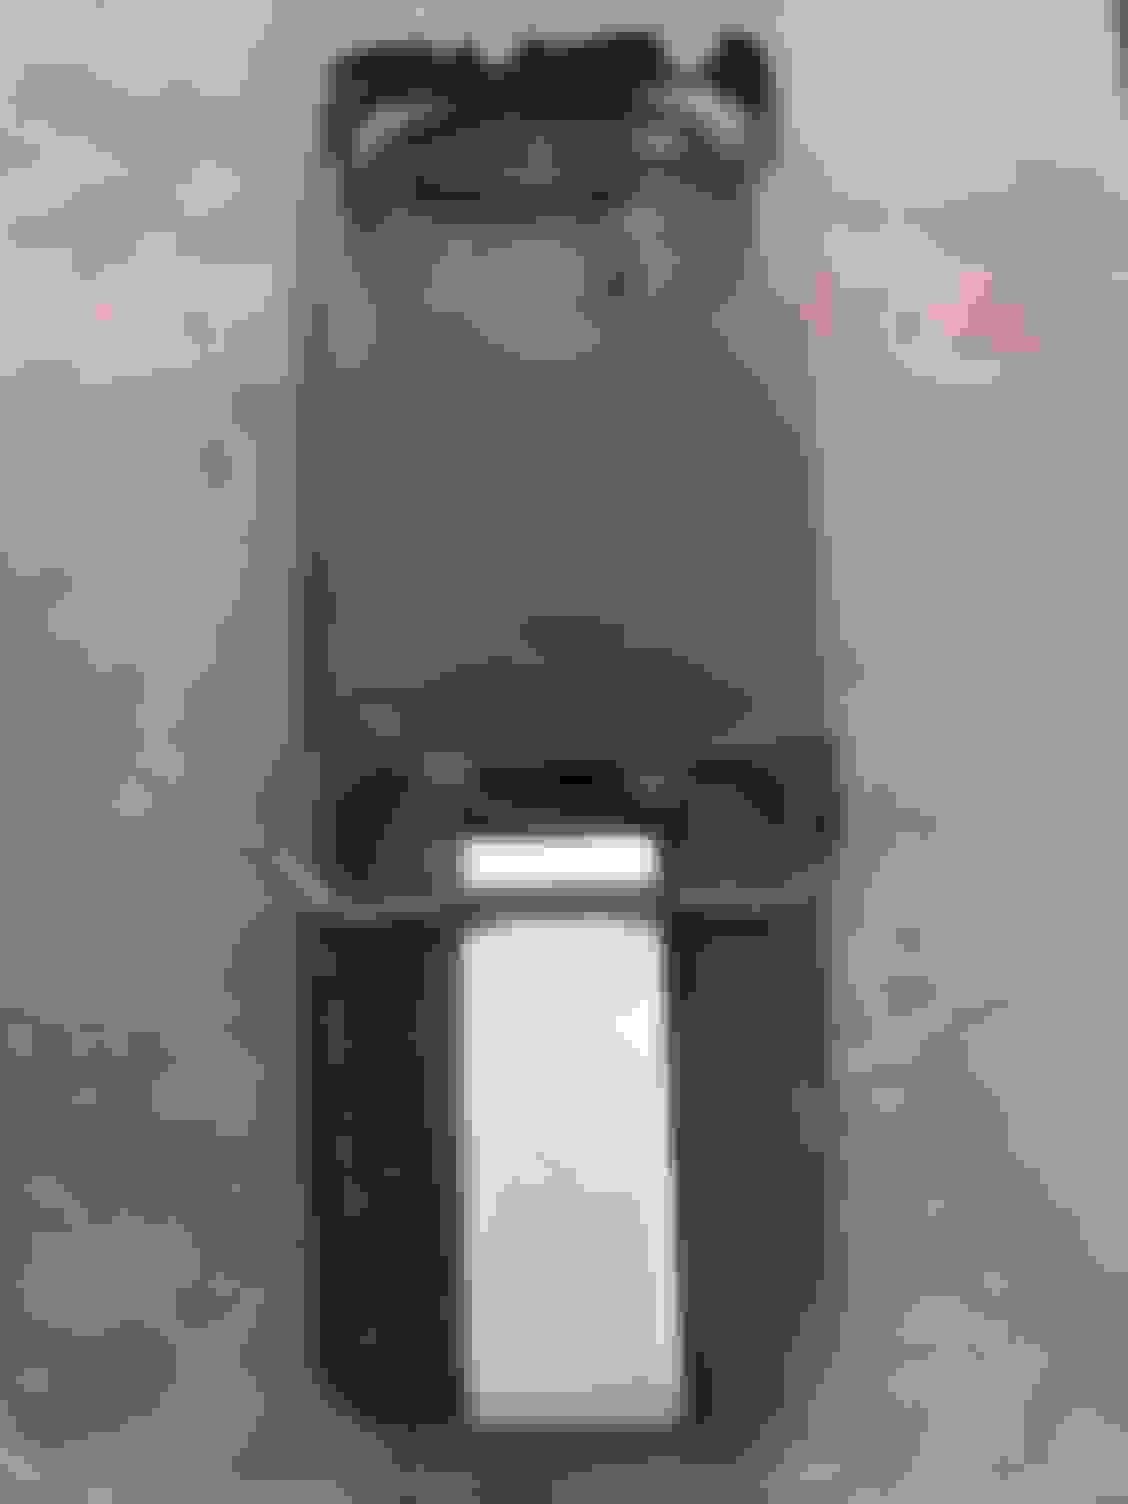
So I thought this would be a quick and easy solution. I don't use and don't plan on ever needing to use the CB hookup on my dash, so I cut out the part that is indented and then glued half of my 2 piece phone case to the panel. I got the phone case on eBay for like $10 and I really like it, so I ordered another one just for this project. I can snap the hard cover off of my everyday case and just pop my phone with the rubber piece still on it onto my bike whenever I need to without changing cases or strapping it into a mount. The hard cover snaps onto the rubber piece that goes around the phone pretty tight so I did have to trim down the clips a little so it easily comes apart but still stays in solid. I might eventually smooth the whole thing and paint it black, but I want to see how I like it first. I think it will work out great for me. Even if I need to use GPS, it's right there!
Cut down the chrome strip so i still had the fancy bar and shield on there
Used some two part epoxy I have at my job, but any epoxy made for plastic should work. Just had to rough up both pieces to make sure there was good adhesion.
Rubber piece on the right that snaps into the plastic piece
Fresh double sided tape and installed back on the bike!
Last edited by budha9109; Aug 9, 2019 at 03:01 PM.
7 Surprising Harley-Davidson Products that Are Not Motorcycles
Slideshow: The bar-and-shield logo shows up on far more than motorcycles, some of the company's most unexpected products have nothing to do with riding.
Slideshow: From the troubled AMF years to modern misfires, these bikes earned reputations for reliability issues, questionable engineering, or disappointing performance.
Crazy Bunderbike Build Looks Amazing, But Is It Impossible to Ride?
Slideshow: The Swiss custom shop has taken a Harley Softail and stretched it into something so long and low that it looks closer to a rolling sculpture than a conventional motorcycle.
Engraved Rebellion: Inside Bundnerbike's Glam Rock II
Slideshow: A standard cruiser becomes an intricate metal canvas in the hands of a Swiss custom house known for pushing Harley-Davidson platforms far beyond their factory brief.
Slideshow: Harley-Davidson's challenges aren't abstract; they show up in dropping shipments, shrinking dealer traffic, and strategic decisions that aren't yet translating into growth.