


DIY Cheap Mods
Tourer
Joined: Mar 2009
Posts: 421
Likes: 2
From: United Socialist Republic of Massachusetts
I got a 36" inseam, so if my feet are flat on the floorboards, my legs are cramped, didn't want to loose the "boards" for forward controls so.....
Here's my rendition of "forward controls", Move the seat back!
Welded up some steel, cut some aluminum bar stock into spacers till I get around to picking up a couple of 5" springs, and I'm good to go.
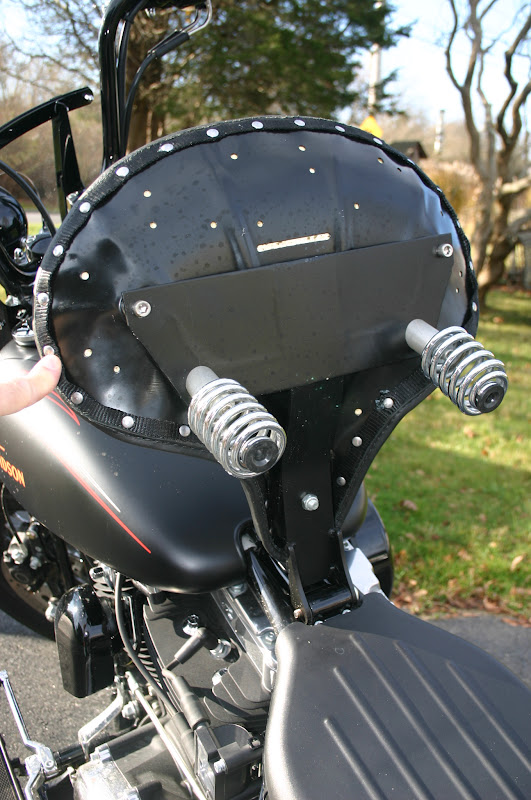

This was my test mock-up to check riding comfort(had to keep moving the seat back )
I'll probably end up with "Mark III" before long, just for the halibut
Here's my rendition of "forward controls", Move the seat back!
Welded up some steel, cut some aluminum bar stock into spacers till I get around to picking up a couple of 5" springs, and I'm good to go.
This was my test mock-up to check riding comfort(had to keep moving the seat back )
I'll probably end up with "Mark III" before long, just for the halibut
Ozark: Love the fender leather mod! I think you could even get those rolls out of it by slightly dampening the leather with something and put large sponges on top (like they use for tile grout) overnight, with some books to weigh them down. That might force the leather to accurately follow the fender curve, although I'm no leather expert.
Bolt Mod: I have done and am getting ready to do my allens...blow out the allen pocket with solvent or use a Q-tip, and when dry, paint the pocket with your lady's fingernail polish to match your paint. With the right colors, it looks like little gems.
Be sure to get it off your fingers before you go out.
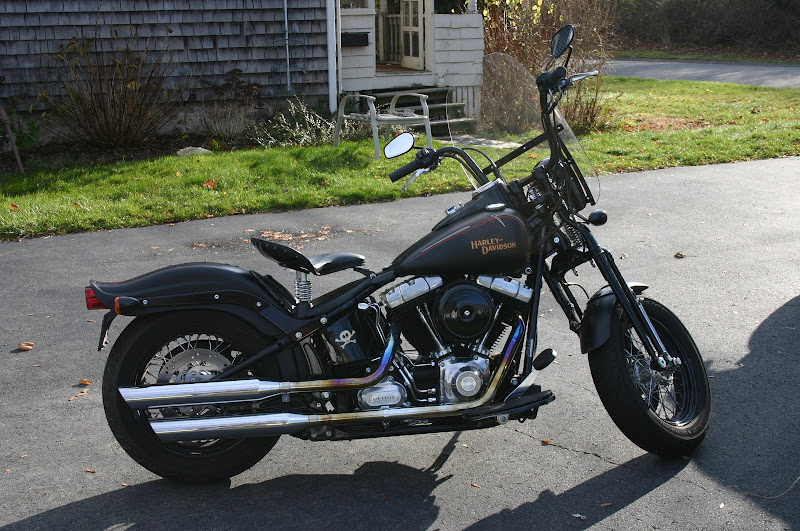
God I hated to get to the end of this thread! It's been the best ever!
Bolt Mod: I have done and am getting ready to do my allens...blow out the allen pocket with solvent or use a Q-tip, and when dry, paint the pocket with your lady's fingernail polish to match your paint. With the right colors, it looks like little gems.
Be sure to get it off your fingers before you go out.
God I hated to get to the end of this thread! It's been the best ever!
Don't like the floor roller I got from Harbor Freight: the bike is too heavy to roll the wheel very easy, so I designed a jack from old gym machine frames and welded her up: works perfect except under the primary where it would hit.
...and I don't have to worry about some old 2x6 cracking under the weight.
The leg pads come in handy to keep from scratching the frame paint:

A closeup of it...

...and I don't have to worry about some old 2x6 cracking under the weight.
The leg pads come in handy to keep from scratching the frame paint:
A closeup of it...
Tourer
Joined: May 2009
Posts: 273
Likes: 0
From: everywhere
Here is my coil relocation bracket:
made from the same small piece of steel from Home Depot I used to make my side tag bracket.
~ Under $10 bucks for the steel
~ About $4 for (1/4 x 20 thread) stainless washers, lock washers, and nuts.


made from the same small piece of steel from Home Depot I used to make my side tag bracket.
~ Under $10 bucks for the steel
~ About $4 for (1/4 x 20 thread) stainless washers, lock washers, and nuts.
Tourer
Joined: May 2009
Posts: 273
Likes: 0
From: everywhere
Here is my DIY bike stand.
Made from scrape lumber I had left over from other projects.
~ $?? Lumber(Probably not more than $20)
~ $5 small box of Screws
~ $3 for 4 small eye bolts
Measures 2' Tall x 2' wide x 86"-ish long with a removable center bridge for easy access to the underside.
It has worked great so far for the mods I am doing.
However it is a pain to get the bike up there...
Road Master
Joined: Sep 2007
Posts: 750
Likes: 8
From: South Florida
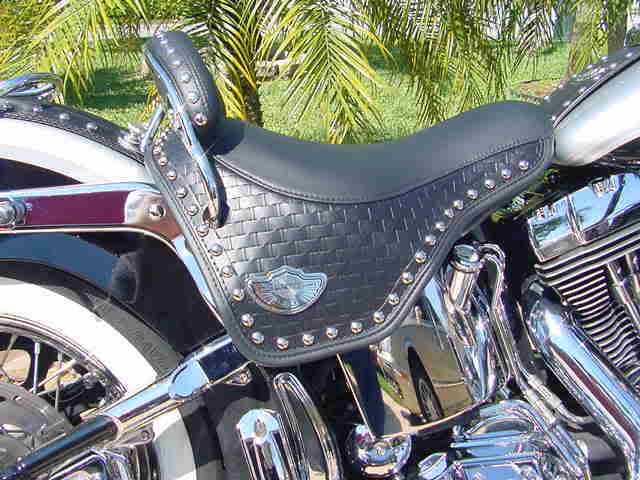
I have never been a fan of tasles or conchos & neather was the dude I bought my bike off as the skirt on the seat just had the holes where he took the chonchos off, I bought a couple of badges off ebay & cut out two discs out of a bit of aluminium about 1/8" thick with a hole saw, I then filed around the edge, then polished them with the drill with polish wheels I bought in a kit, that I used to polish my fatboy wheels when I got them, a hard wheel and a soft wheel 2 different sizes and 2 different compounds, I drilled 2 holes in them then through the seat skirt, I put self tappers through from the back of the skirt into the aluminium discs then cut off the excess part of the screws with one of those fine cut off discs in the 4" grinder, cleaned off the polish with some MEK where the badge was going
to stick onto then stuck them on, what do you think?
to stick onto then stuck them on, what do you think?
I Think You Done Real Good , And It Looks Great, Good Job
I Done The Same Thing With My 100th 03 Heritage Black/Silver
I Put On A 03 Springer Seat And Put The 100th Badges On It, Also On My Saddle Bags Look It Over Ok Heres A Few Pics
Harley03joe


HD Forum Stories
The Best of Harley-Davidson for Lifelong Riders

7 Surprising Harley-Davidson Products that Are Not Motorcycles
Verdad Gallardo
8 Best Harley-Davidson Motorcycles Ever
Pouria Savadkouei
10 Worst Harley-Davidson Motorcycles Ever
Pouria Savadkouei
Killer Custom's Jail Break Is The Breakout That Refused to Blend In
Verdad Gallardo
Crazy Bunderbike Build Looks Amazing, But Is It Impossible to Ride?
Verdad Gallardo
Harley-Davidson Reveals Super Cool Cafe Racer Concept
Verdad Gallardo
Engraved Rebellion: Inside Bundnerbike's Glam Rock II
Verdad Gallardo
10 Motorcycles You Should Never Buy
Joe Kucinski
10 Things Harley-Davidson Needs to Fix in 2026
Verdad Gallardo
Advanced
Joined: Dec 2009
Posts: 90
Likes: 1
From: Oahu
Warg,
JUst relocated my turn signals on my 07 Fatboy pretty much the same way you did except for 2 things. I used a shorter bolt and didn't splice any wires. I totally disassembled the turn signal, cut of the ground connector (black Wire) and the 2 socket tabs. Pulled out the wire from the bars and reassemble light after it was mounted.had to solder the connector and socket tabs bck on since they are crimped on in the first place. A little mor tedious but no splices. to corrode later.
JUst relocated my turn signals on my 07 Fatboy pretty much the same way you did except for 2 things. I used a shorter bolt and didn't splice any wires. I totally disassembled the turn signal, cut of the ground connector (black Wire) and the 2 socket tabs. Pulled out the wire from the bars and reassemble light after it was mounted.had to solder the connector and socket tabs bck on since they are crimped on in the first place. A little mor tedious but no splices. to corrode later.