


DIY Cheap Mods

1st Gear
Joined: Aug 2012
Posts: 5
Likes: 0
From: Bridge City, Texas
Hi everyone. This is my first post here and wanted to tell ya about a mod I have done on my Heritage. I have added the Harley passanger foot boards for my girl and she loves them but complained that they were to low and on long rides the backs of her legs hurt. Kuryakyn makes foot boards with an adjustable peg to raise your feet and change positions but not for the softail so I decided to make something similar. If you notice on the Harley passanger footboard, after you put the footboard on the hex shaped peg and put the bolt through to secure it, there is a 3/8" space of unused hex peg on the inside. There was my mount point. I took a piece of 3/8"X2" flat bar. Cut the hex shape out to fit the peg and drilled and tapped for a 1/4" set screw on the bottom to tighten it up on the peg. Had to do a couple of bends to bring it in about an inch so the foot peg wasn't sticking out to far. I used the old passanger foot pegs I took off. Ended up raising her feet about 4". Takes a few on and offs to get what you want but they turned out awesome and my girl uses them more than the boards. I will send some pics.
Couldn't stand the chrome trips anymore and until I can afford to replace them I painted em up with this - no prep and bonds to hard to bond surfaces ie; plastic, metal etc... http://www.krylon.com/products/fusion_for_plastic/
45 min of taping and a couple pieces of vapour barrier I had lying around = black trips - (and I hit my marker mounts at the same time)
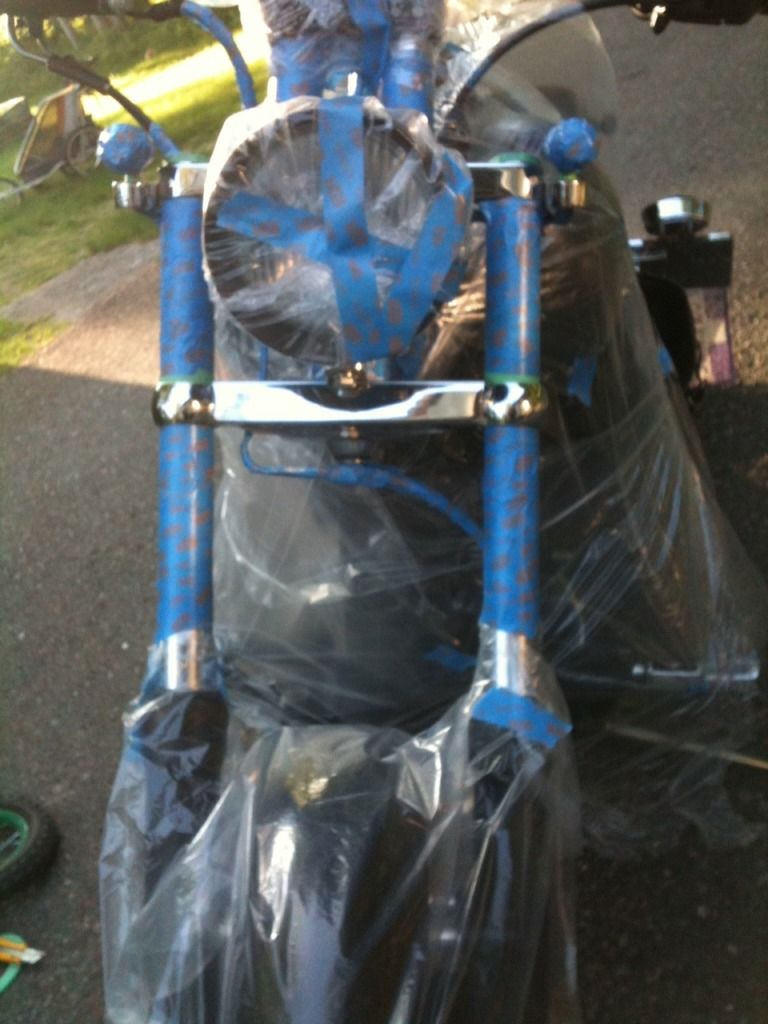

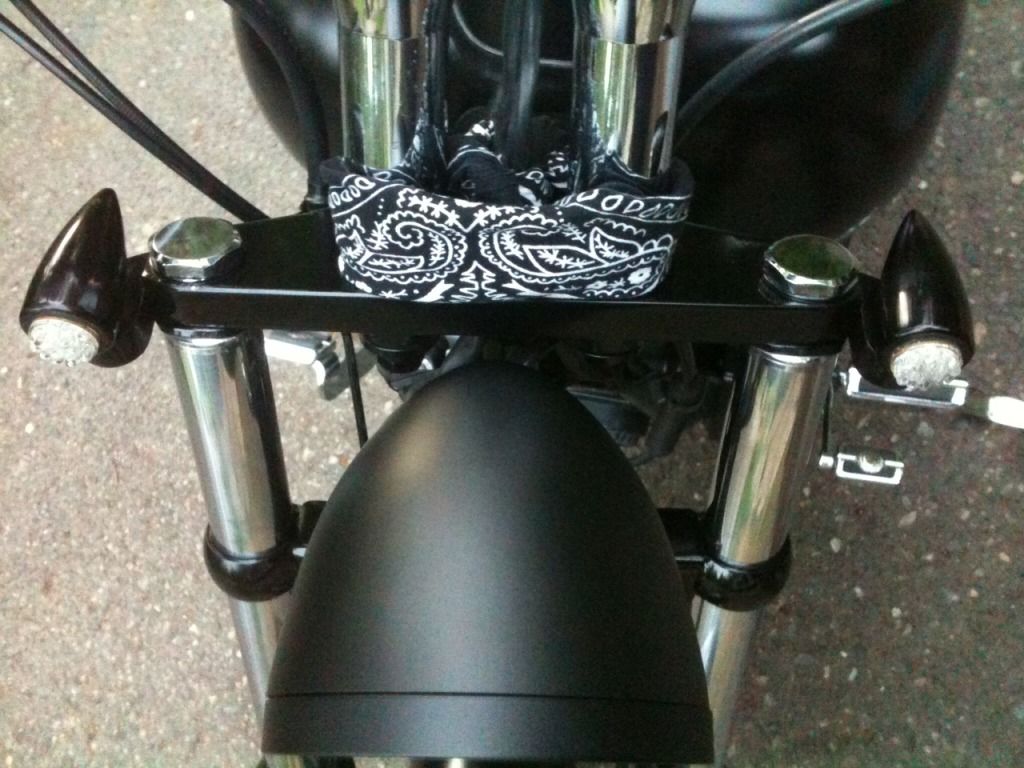
45 min of taping and a couple pieces of vapour barrier I had lying around = black trips - (and I hit my marker mounts at the same time)
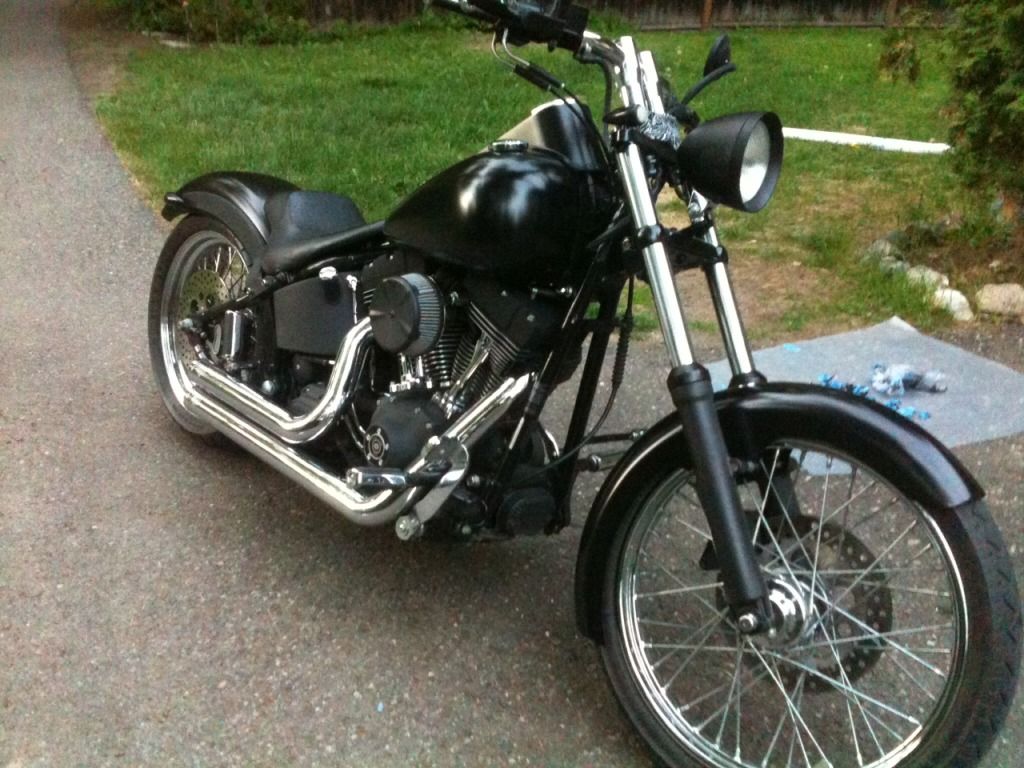
i removed my lower chrome piece under the headlight mount and sprayed it with high temp bbq grill paint for durability, then sprayed nite shades over that. looks pretty good. lookin to do the rest of the trip like you did but without the prep that i needed to do cuz i dont feel like taking it all apart.
yours looks real good, how long has it been and hows this stuff holding up so far?
Intermediate
Joined: Jun 2012
Posts: 27
Likes: 0
From: Denver
Laws of physics says driving in high winds with solid wheels versus with spoked wheels will be a factor. It's no different than when I ride my deluxe with the windshield versus without. With it, on windy days, I can feel the bike pushed an pulled by the wind on some instances. Without the shield, it is not noticeable. I like this thread by the way.
I replaced my spokes with Fatboy wheels after pulling hard in the twisties with a trailer behind me was breaking spokes and had me constantly relacing the back wheel.
The ONLY time I feel those solid wheels down there is when I'm being buffeted when temporarily behind a tractor trailer, where you get slammed around anyway. Crosswinds have thus far not affected me to any noticable degree in the last year or so.
The ONLY time I feel those solid wheels down there is when I'm being buffeted when temporarily behind a tractor trailer, where you get slammed around anyway. Crosswinds have thus far not affected me to any noticable degree in the last year or so.
Intermediate
Joined: Jun 2012
Posts: 27
Likes: 0
From: Denver
You don't mention how you attached the round stock to the flat stock. Did you weld that? I've been wanting to make something for a while now, also tired of melting my heels onto my shiney pipes.
ok ive melted my boot on the exhaust for the last time..
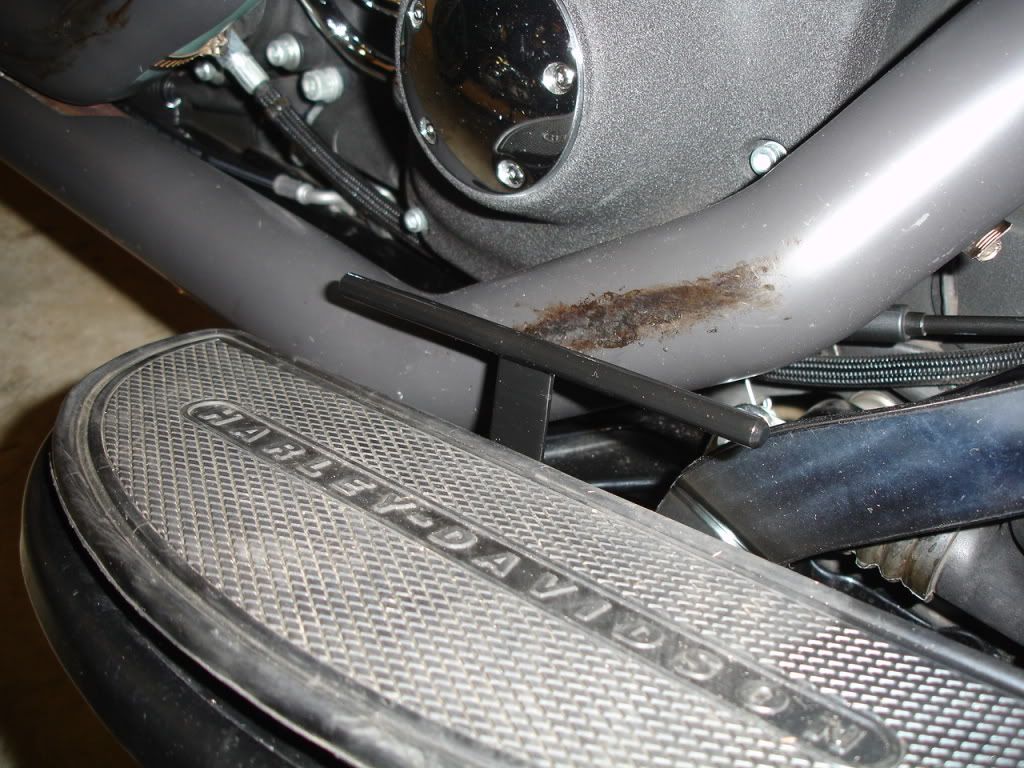
my boot heel has mellted on the exhaust more than once ..carl miles heel guard for harley footboards are $68.00 on ebay for $3.00 worth of material..their instructions show spacers to clear side lip of floor board i notched mine to allow for better fit and it will be much stringer this way will also slot 2 of the holes for adjustment..
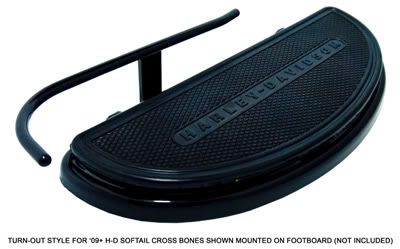
so i decided to make my own..simple but effective.the pic above shows the turn out style they also make a turn down and a smaller straight guard..i decided on the smaller straight style.
materials needed:
6" - 3/4"x1/8" flat bar
6" - 5/16" round bar
2 - bolts of choice [ i went with 1/4" stainless with nylocs ]
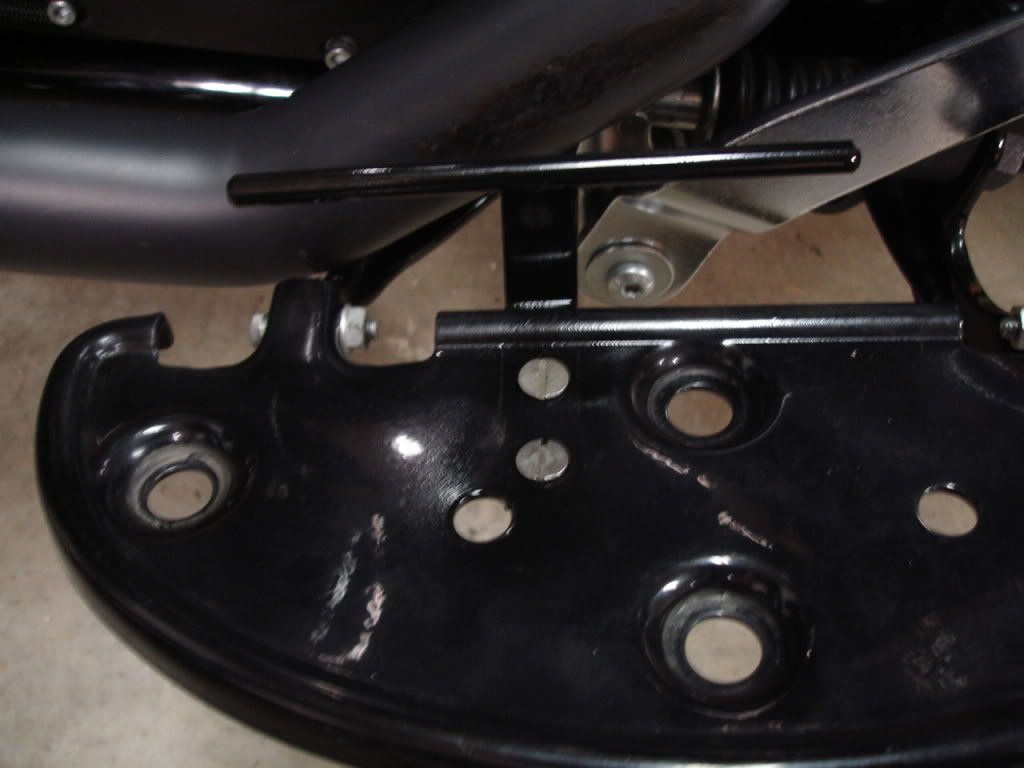
so heres a couple pics first i cut the flatbar to length then bent it at 90*.then cut the round bar to length and chamfered the ends
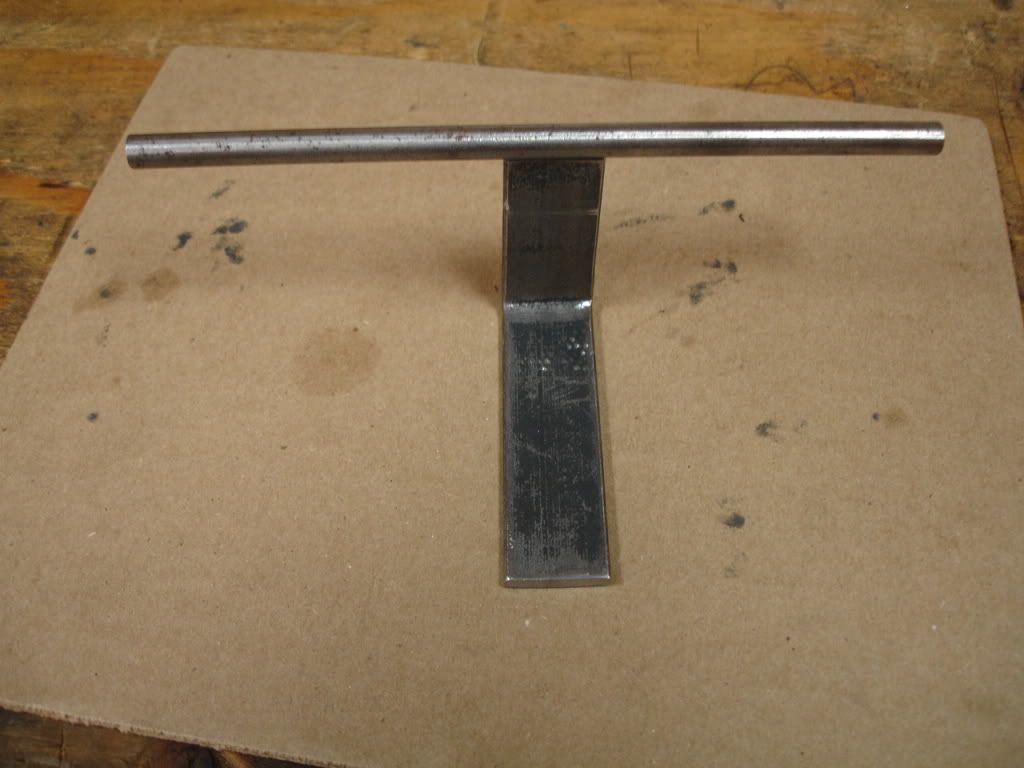
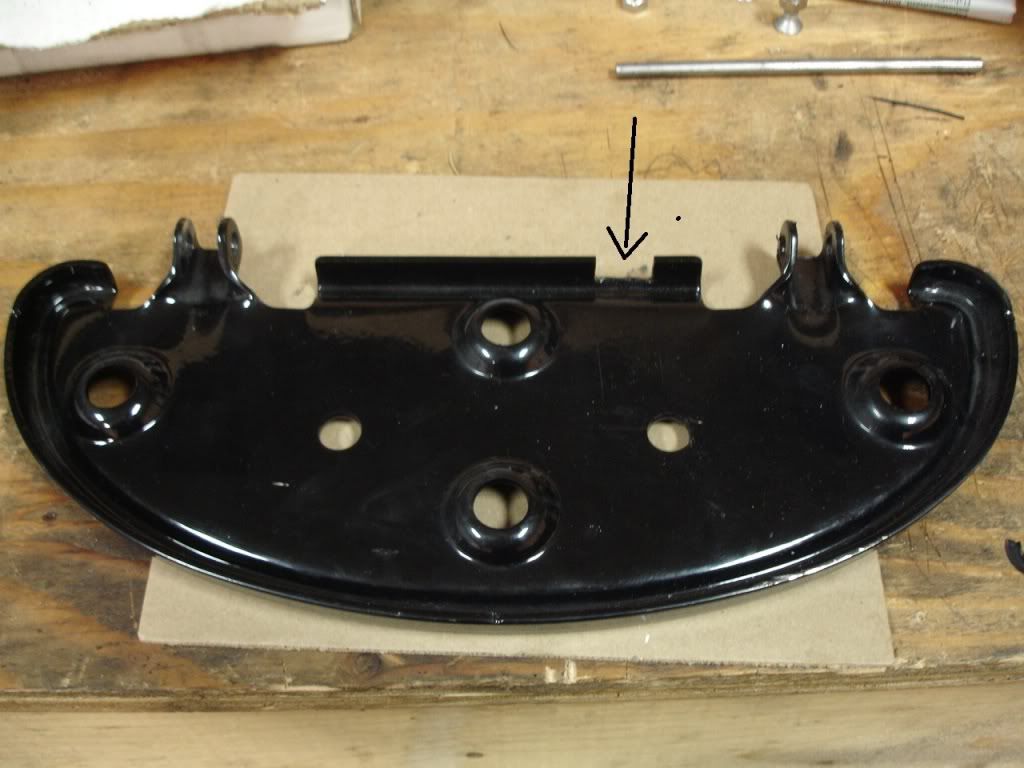
ok now time to cut the edge of the footboard to fit the 3/4" flatbar so i cut a 3/4"W x 3/8"D knotch in the side
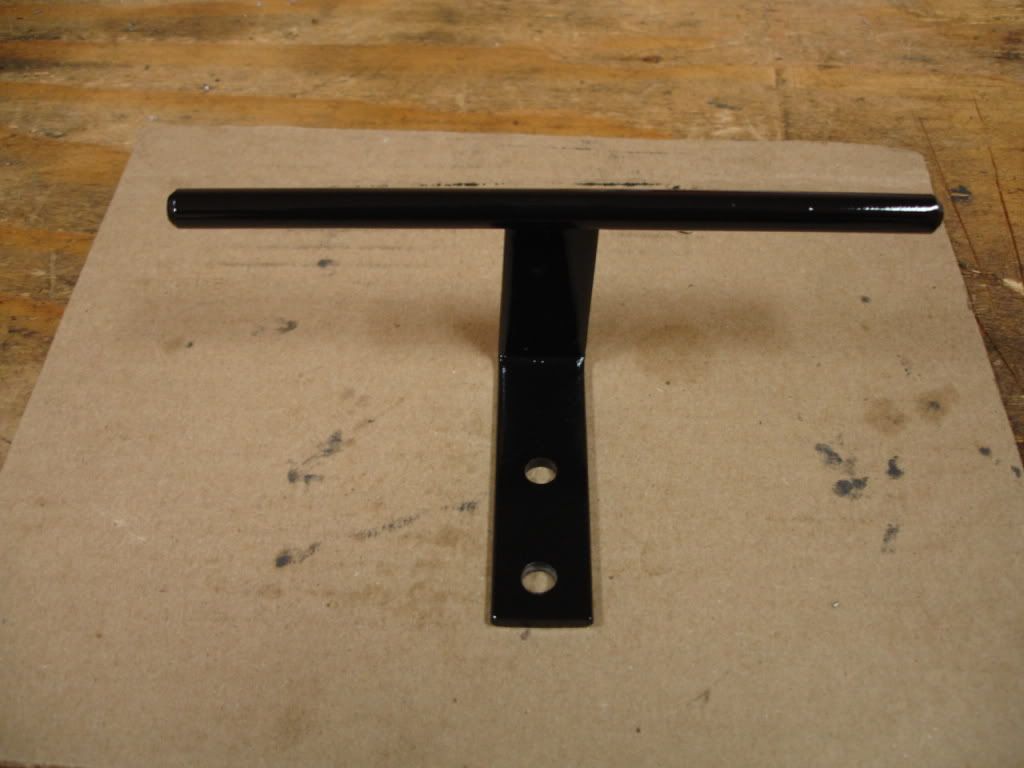
time to drill some holes and countersink them for smoother finish and more clearance
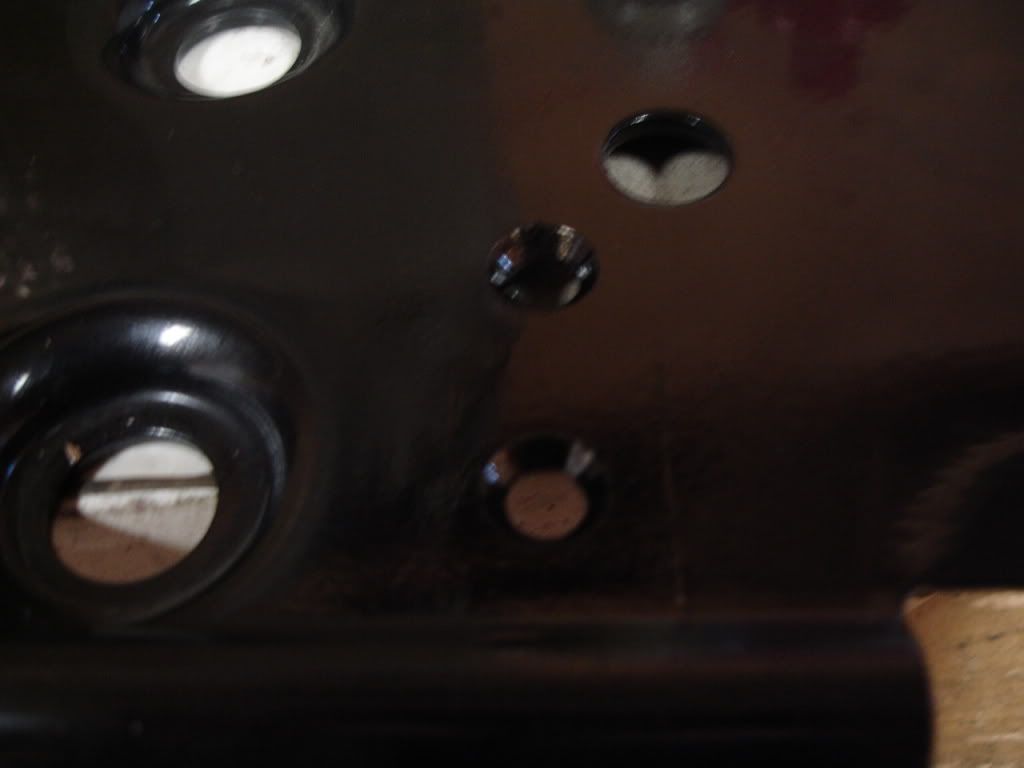
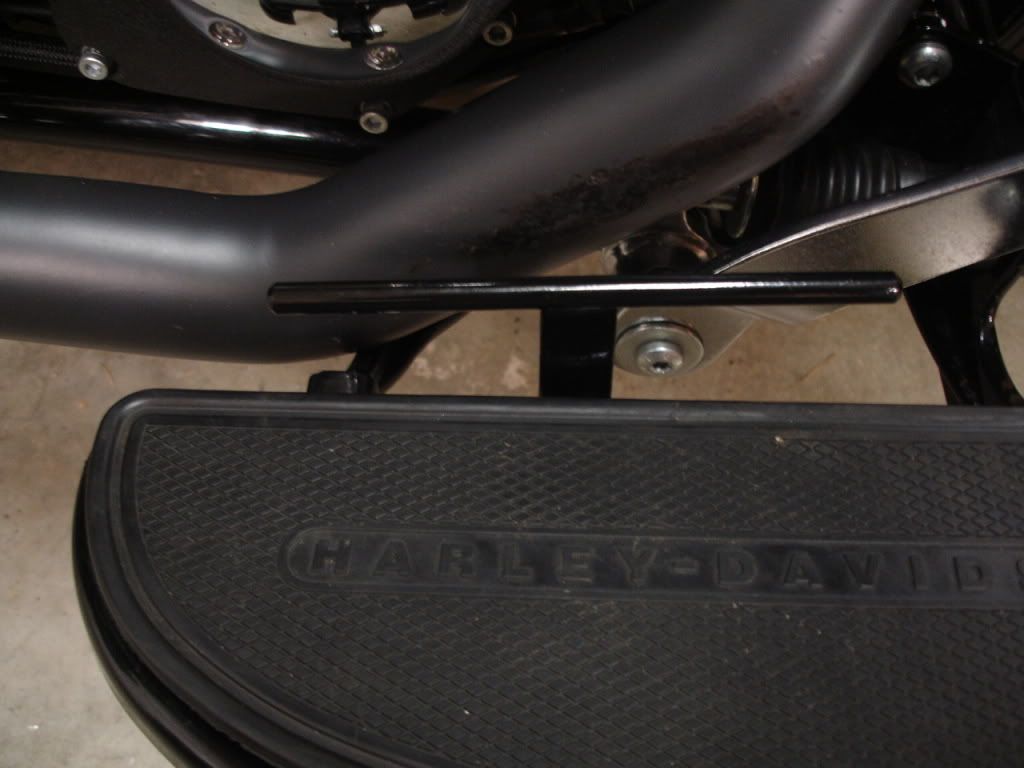
installed on footboard
my boot heel has mellted on the exhaust more than once ..carl miles heel guard for harley footboards are $68.00 on ebay for $3.00 worth of material..their instructions show spacers to clear side lip of floor board i notched mine to allow for better fit and it will be much stringer this way will also slot 2 of the holes for adjustment..
so i decided to make my own..simple but effective.the pic above shows the turn out style they also make a turn down and a smaller straight guard..i decided on the smaller straight style.
materials needed:
6" - 3/4"x1/8" flat bar
6" - 5/16" round bar
2 - bolts of choice [ i went with 1/4" stainless with nylocs ]
so heres a couple pics first i cut the flatbar to length then bent it at 90*.then cut the round bar to length and chamfered the ends
ok now time to cut the edge of the footboard to fit the 3/4" flatbar so i cut a 3/4"W x 3/8"D knotch in the side
time to drill some holes and countersink them for smoother finish and more clearance
installed on footboard
Advanced
Joined: Aug 2008
Posts: 89
Likes: 0
From: kentucky
here is my contribution for the thread. this is a free mod if you're already buying cables or in some cases the stock cables may reach. i was switching all my cables to the diamond braid ones so i ordered all of them two inches over stock length then i routed them through the hole in the trees. i was running the stock length clutch cable like this before ordering the diamond braid. thanks for a great thread!


Tourer
Joined: Oct 2010
Posts: 429
Likes: 4
From: St Clair County
HD Forum Stories
The Best of Harley-Davidson for Lifelong Riders

7 Times Harley-Davidson Chucked Tradition Out the Window
Verdad Gallardo
7 Surprising Harley-Davidson Products that Are Not Motorcycles
Verdad Gallardo
8 Best Harley-Davidson Motorcycles Ever
Pouria Savadkouei
10 Worst Harley-Davidson Motorcycles Ever
Pouria Savadkouei
Killer Custom's Jail Break Is The Breakout That Refused to Blend In
Verdad Gallardo
Crazy Bunderbike Build Looks Amazing, But Is It Impossible to Ride?
Verdad Gallardo
Harley-Davidson Reveals Super Cool Cafe Racer Concept
Verdad Gallardo
Engraved Rebellion: Inside Bundnerbike's Glam Rock II
Verdad Gallardo
10 Motorcycles You Should Never Buy
Joe KucinskiAdvanced


Joined: Aug 2012
Posts: 74
Likes: 15
From: Hampshire, England
More of a question, this....
Has anyone had a go at at a bit of DIY baffle surgery? I only ask because
a) My new Slim is far too quiet - I've already had the 'we're waiting for you to start your bike' gag at the beginning of runs and
b) it would keep the 'standard' look and
c) those rivets look far too tempting to leave alone.
d) would the price of four rivets and a bit of sawing/filing mean this counts as a cheap mod?
Andy
'95 XLH883
'13 Slim
Hampshire
England

Road Captain
Joined: Oct 2011
Posts: 523
Likes: 1
From: kingston ontario
are those 3" mufflers? if they are i have the same on my blackline and it was easy to drill out the rivets but you will have to pull the mufflers off to do this.
the first time i did this i riveted the baffles back in but the last time i drilled them out i used #10 stainless panheads with lock washers so i wouldnt have to remove the mufflers to pull the baffles.
you may have more skills than i do but after pulling the baffles out and cutting the rear end off i still could not get the damn things apart.
the idea was to add more holes and possibly bigger ones in the same sort of manner they were constructed, since i could not do that i simply welded the end back on, inserted the baffles back into the mufflers and drilled a half inch hole in the plate you see when looking inside the baffles..... use a step drill so you have options....i have since wondered what a 3/4 hole would have sounded like.
in the end i just pulled the damn baffles completely out but be warned it is stupid loud, deep but loud.
you may want to try the W258 thunder torque inserts from DK customs or something like that to tone it down and recover some back pressure..... mine should be here monday and when i install them and ride i will tell you the difference in feel and sound from each different change i made
More of a question, this....
Has anyone had a go at at a bit of DIY baffle surgery? I only ask because
a) My new Slim is far too quiet - I've already had the 'we're waiting for you to start your bike' gag at the beginning of runs and
b) it would keep the 'standard' look and
c) those rivets look far too tempting to leave alone.
d) would the price of four rivets and a bit of sawing/filing mean this counts as a cheap mod?
Andy
'95 XLH883
'13 Slim
Hampshire
England
Has anyone had a go at at a bit of DIY baffle surgery? I only ask because
a) My new Slim is far too quiet - I've already had the 'we're waiting for you to start your bike' gag at the beginning of runs and
b) it would keep the 'standard' look and
c) those rivets look far too tempting to leave alone.
d) would the price of four rivets and a bit of sawing/filing mean this counts as a cheap mod?
Andy
'95 XLH883
'13 Slim
Hampshire
England